So you followed the basic livestream tutorial, and now you have your stream online. Which is to say, you have a webcam at the back of the room trained at the presenter, with sound coming from the streaming computer's microphone. You can barely see the presenter, can't read the presentation at all, and can hardly make out what is being said. The stream is there, but it's really minimal service. How can you make it better?
Also check out the “Is this mic on?” guide by Timothy.
About this tutorial
This tutorial was originally created by Timothy Daniel in March 2015. If you have any comment or question, feel free to contact him at [email protected].
First, you need to focus on the needs of the viewers. What do they want?
- They want to know what's happening. Who is talking? About what?
- They want to see the speakers
- …and their presentations
- And, most of all, they want to clearly hear both the speakers and the questions from the audience.
What you need to show on the screen depends on what is happening. Is someone showing a PowerPoint? Then you should probably show that. Have we moved on to the question round? Then it's likely better to show a full screen video rather than have two thirds of the screen occupied by a "thank you for listening" slide. Has everybody left the room for the coffee break? Then viewers don't want to contemplate a bunch of empty chairs; they want to know where people went, and when they'll be back.
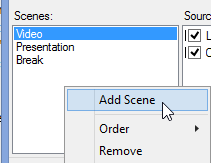
Scenes
OBS allows to have multiple "scenes" with different layouts and elements.

I usually define three:
Video view
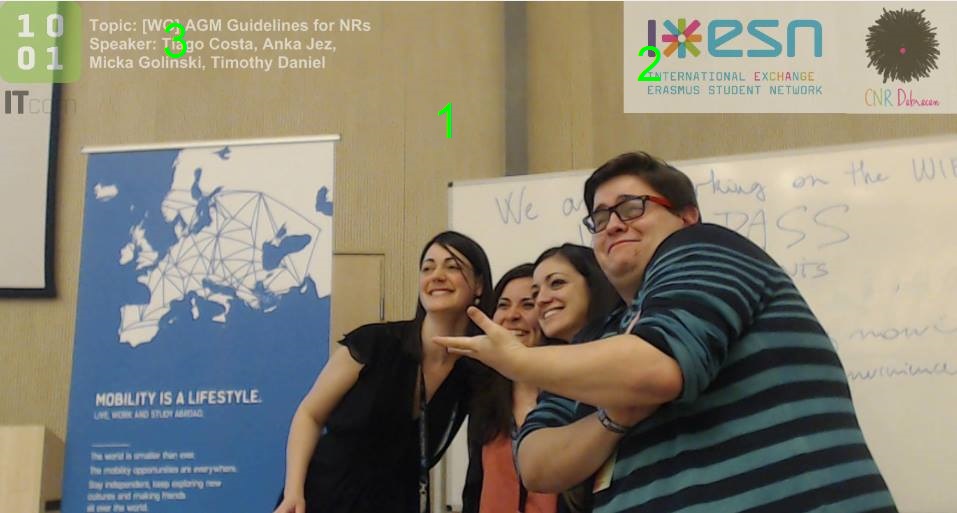
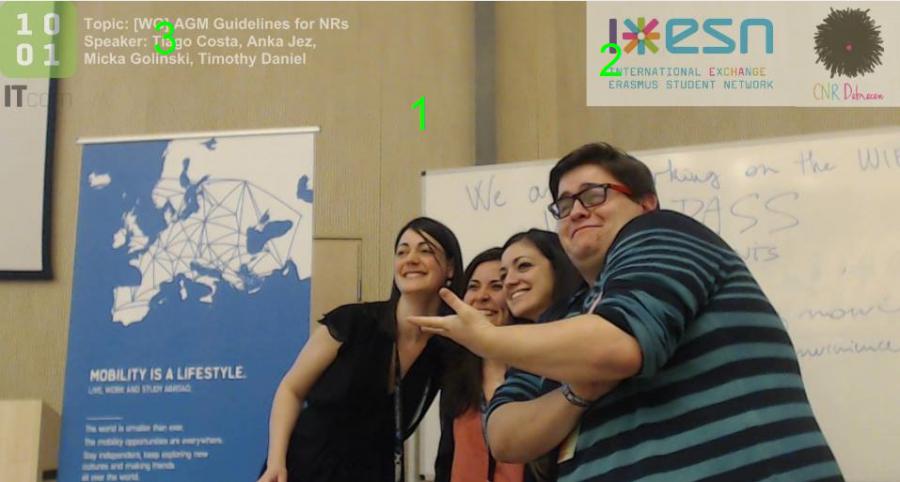
This view is meant to be used when the emphasis is on the speaker, with no presentation or supporting material. Here for instance, it's composed of three different items:
-
The video from the main camera, in full screen;
-
Logos and other decorative elements. If possible and admissible by the logo's owner, have it in semi-transparent to avoid obscuring the image (in this case, the ESN logo should not be transparent, unlike what is show in the screen);
-
A summary of the speaker and topic
Both 1 and 2 can be set up once at the beginning of the event and left as is (in the streaming software, that is. You might need to adjust the camera position). However, the 3rd element needs to be updated for each presentation.
This is where we hit one of the limitation of OBS and other similar software (such as FFSplit): there is no "staging area" where you could prepare the scene or text beforehand. It needs to be done live, where viewers can see you typing the new content directly on the screen. Not very professional. However, there is a solution: the text in those text boxes can be entered manually, or it can be sourced from a file (with each change to this file refreshing the text). This is the best way to do this:
-
In a folder, create a series of text files, one for each text element in your stream. Also, create a staging text file where you prepare each text;
-
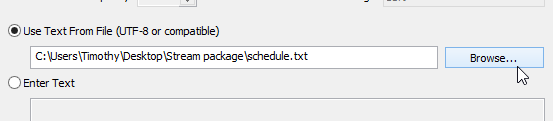
In the text field, instead of "Enter text", click on "Use text from file" and select the file;
-
When needed, replace the content of each file by the prepared text.
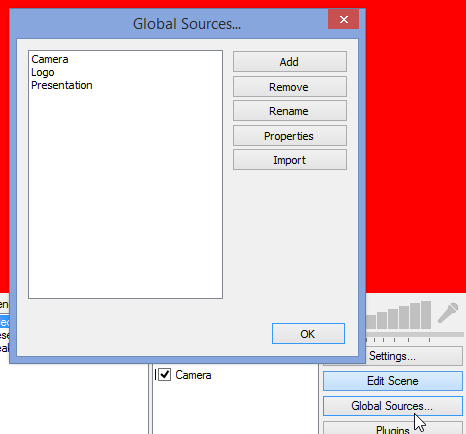
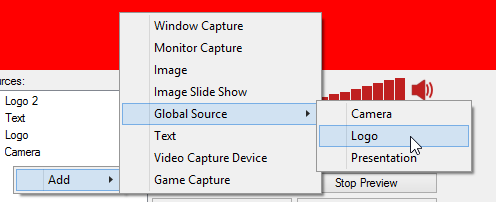
Additional tip: if you're going to reuse an element, for instance the logos, in every scene, you can define a "global source". Global sources can be imported multiple times, and any change to them (except their position and size on the scene) will be reflected on all the scenes they are on.


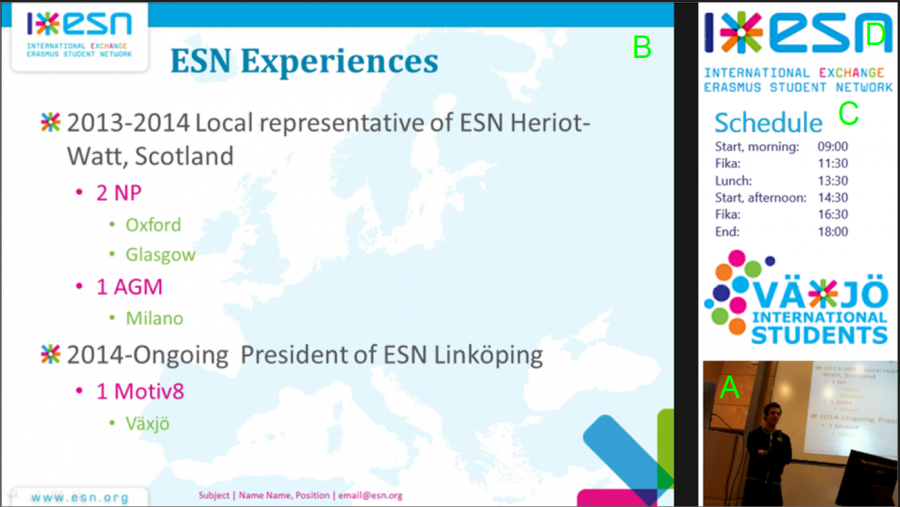
Presentation view

This view is used when there is a presentation to show. The 4:3 presentation takes up most of the screen, with the remaining space being occupied by a picture-in-picture video, and various logo or other information. Here, I used:
-
The video;
-
The presentation, sourced from TeamViewer or Hangouts (see below);
-
A schedule, sourced from a file;
-
Logos to fill the remaining space
To display the presentation, we stream the second monitor (the one which is being projected) of the presentation computer.
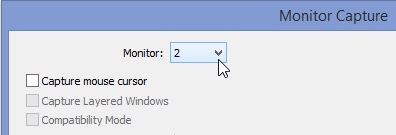
If the presentation computer is also the streaming computer, it's simple: just add a "monitor capture" view to the scene, selecting the second monitor.

If, however, you are streaming from another computer, there are two ways to get the presentation. Note that the presentation computer needs to have internet access.
If you have admin access on the computers
Download and install Teamviewer on both computers, then open a connection on the presentation computer. Write down the id and password of the stream. Start Teamviewer on the streaming computer and connect to the stream.
When the screen of the other computer appear, go to "video" on the top bar, switch to screen 2, and hide the top bar. You can then add this window in the stream by using add -> window capture.
If you don't have admin access on the computers
You can use Google Hangouts to achieve the same effect without having to install anything. You will however need two Google+ accounts. Go to https://plus.google.com/hangouts, log in the first account, then start a hangout and select "screenshare" on the sidebar, selecting the second monitor view (the one showing the presentation), the invite the second account.
On the streaming computer, log in on the second account, and join the video call. You should now see the presentation computer's second screen. Again, add it to the stream with add -> window capture.
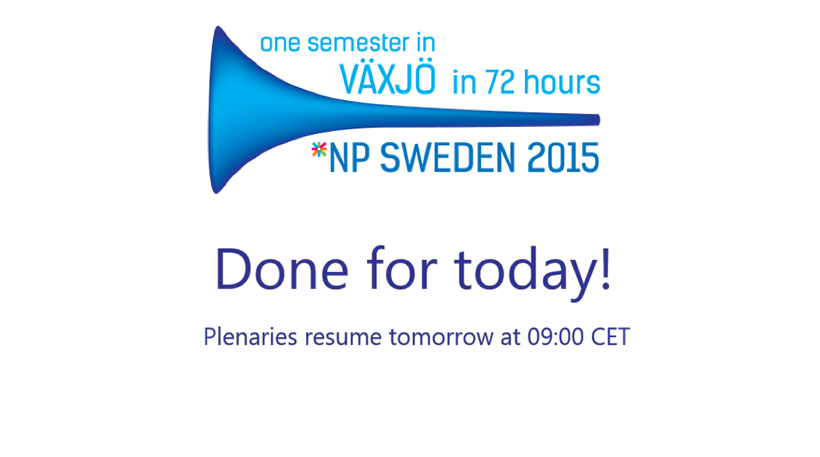
Break view

Quite simply, this screen appears when there is nothing else to see. Occasions include:
-
Coffee breaks
-
Lunch
-
End of plenaries
-
Confidential sessions where the chairing team wants the stream turned off
During that time, turning the stream off is an option, but it's rather brutal and confusing for the viewer. Likewise, any new viewer will just be treated to an empty screen, with no indication that the stream is working. It's much better to keep the stream on, but to cut off the sound and replace the image with a waiting screen.
Here, I have two elements: the reason for break, and an ETA that indicates when the stream will be back on. This is an excellent occasion to have text fields sourced from files, as explained above.
In OBS, the sound is linked to the element on the screen. Since there are only pictures and text in this scene, no sound will be streamed.
Sound
Using those techniques, you can obtain a much clearer and pleasant video for your viewers. All that remain is making sure that the sound quality is there: unfortunately, this is heavily dependent on the infrastructure of the room you're in. Obviously, directly connecting to the room's sound system (if any) is much better than recording from a microphone. Prior to the meeting, investigate the room's audio system. Find out if a microphone system is installed, and if so, what kind of output is available (3.5mm, XLR?). If you have the possibility, purchase or request the necessary cables and converters.
In any case, insist that both participants and audience use a microphone when talking. This might sometimes be met with resistance, especially when the acoustics of the room allow people to talk normally, and the microphone appears unecessary; explains that this is for the benefit of the online viewers. Likewise, carrying the microphone from person to person can be tedious: have one or two volunteers on hand to transport them. Ideally, you would need three to four microphones: one for the presenter, (at least) one for the chairing team, and (at least) one for the audience. The more, the better. Needless to say, wireless microphones work best, especially for the presenter and audience.
Don't forget the human component!
Even when everything is set up, it's not just a matter of pressing "start streaming" and leaving the system work by itself. Throughout the plenaries, you will need to change scenes, update the text elements, reposition the camera, check the sound, and in general make sure that the stream is working correctly. Much like minute taking, operating the stream is a full time job that can't easily be piled on top of other responsibilities. Make sure to assign someone that can work on the stream undistracted during the plenaries, and regularly check if the system is working: with that many moving parts, something is bound to stop working at some point or another. If you can manage it however, the reward is a high quality stream that will allow remote participants to actually feel involved in your event.