Introduction
Hello and welcome to ESN Live Streaming tutorial for Dummies :)
About the authors
This tutorial was originally created by Václav Rozsypálek and updated by Timothy Daniel in October 2014.
If you have any comment or question, feel free to contact at [email protected].
Part 1 - Requirements
To be able to stream your ESN event you need :
-
A camera that can record video and is connected to PC (or laptop). If you have laptop with integrated camera, basic installation of any OS (WIndows/Mac) should be enough. With external cameras, you may need install special drivers, so your computer can use it.
-
Galaxy account with either IT Committee or local/national webmaster role. You need at least one of this role, or you won't be able to create ESN Stream event (at http://live.esn.org).
-
Stream client - this is covered in Part 3 - setup streaming client.
-
Internet connection - Be warned that very slow and unstable internet connection can make streaming impossible. (For advanced users: if you have blocked port 1935 on your network, you won't be able to stream)
Part 2 - Create The Stream Event
Assuming that you have permission to create ESN Stream Event (it com role or webmaster role or special permission) go to http://live.esn.org/
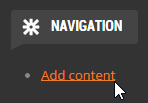
- At the bottom of the page click on Add Content link (Image-part2-01)
- Now you have to fill the form:
- Event name - Something that will easily identify your event for example: NP San Francisco or WEP Los Angeles.
- Stream dates - Select dates at which the stream will be available. It should correspond to event start and end dates.
- Stream channel - You cannot change this, but it is a very important string, remember it or write it down. You will need it, when you will be configuring stream client in Part 3.
- Stream IP - This is security restriction, you can only stream this event from the specified IP address. If you don't know what an IP Address is, just create the event from the PC and place where you will be streaming and you don't have to care about it. Or you can create the event earlier and then on the event go here and copy that IP Adress. For more curious species: http://en.wikipedia.org/wiki/IP_Adress
- Event type - Choose your type of event from the combo box. It's purely informative, so in the end, it does not even matter :)
- Agenda or Other information - Pretty self-explanatory.
- Click Save at the end of page.
- Now you can see page with your stream and you have 3 available buttons:
- View - Shows the stream, but only if today is already between the start and end dates.
- Edit - Here you can edit everything you typed in the form in section 2.
- Preview - Shows stream regardless of date, good for testing.
- During stream dates, you should be able to see your stream on the home page http://live.esn.org/ .
Note: If you want test the creation of a stream event, please choose old dates like 1 month ago.
Part 3 - Setup The Streaming Client
For streaming, you need a software that will send recorded video from the camera to the ESN servers. There is more than one option, but in this tutorial I will describe how to use Open Broadcast Software (OBS). OBS is working on Windows 7/8 and OSX 10.8+ (Linux version is in development). This guide will show how to setup the stream client on the English version of OBS.
- Download the version of OBS for your OS from https://obsproject.com.
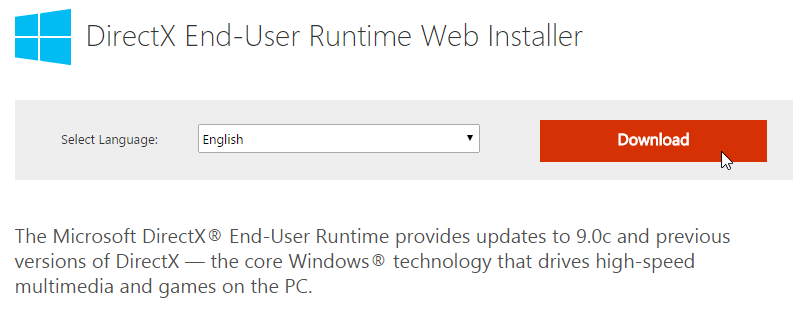
- Install OBS from downloaded file. OBS needs some DirectX drivers, if you don't have them, it will notify you and then redirect you to download page.
- (Steps only for DirectX installation)
- On website click on Download:
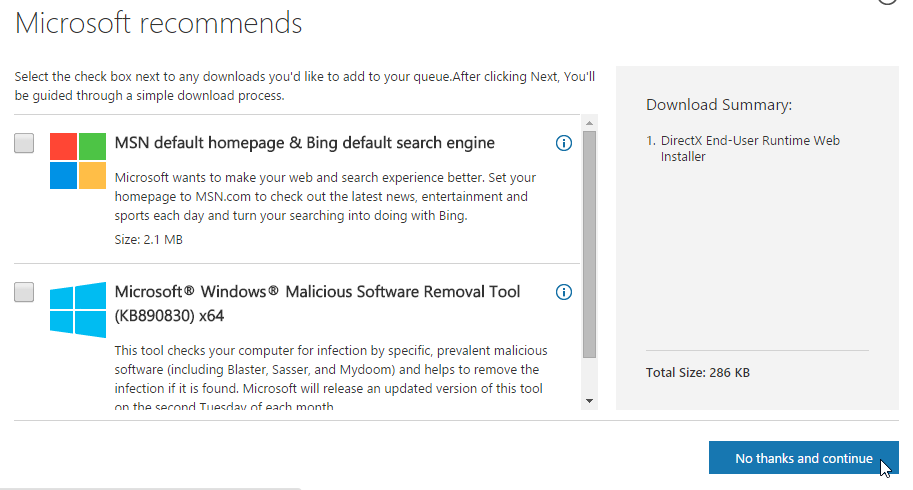
- Then uncheck all boxes and click No, Thanks
- Download the installer
- Run the installer
- Check I accept the agreement, click Next
- Wait a little bit, then click Next again and wait for download a instalation of DirectX
- Click Finish. Now open the OBS Installer and continue (just click next,next ...).
- Run OBS.
- Setup stream source:
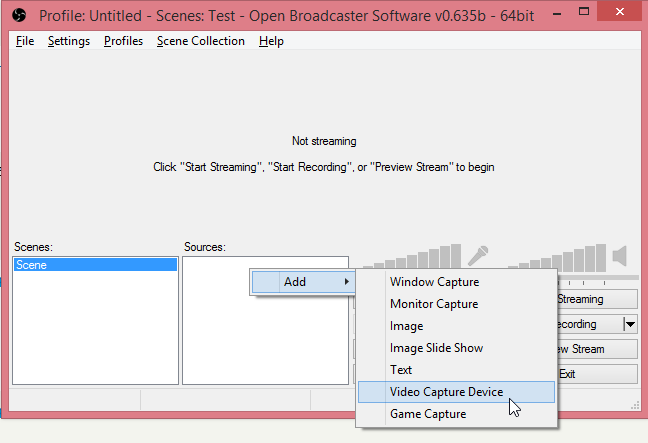
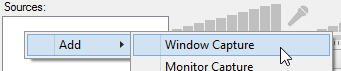
- Right click into frame called Sources (middle bottom)

- In the showed menu go Add -> Video Capture Device.
- Enter some identifier for camera device like "my camera" or "camera01". Then click OK.
- At the top you can choose which camera will be used for streaming, if you have only one, it should be already chosen.

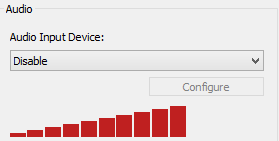
- On the right side you can enable/disable audio for stream.

- You can customize camera settings a lot, but if you don't know what it means, leave it in default configuration. Hit OK.
- Now you should be able to see your camera in the Sources frame (make sure the check box is ticked).
- You can test how it's going to look by click on Preview Stream button.
- Right click into frame called Sources (middle bottom)
- Configure stream destination:
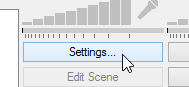
- Click the Settings button:
- Then select Broadcast Settings
- At column Server enter: rtmp://streaming.esn.org/ESNStream
- At column Play Path/Stream key enter your channel name like channel999 (from Part 2, Section 2). And yes, the content of this column is hidden, like password.
- That's all. Hit OK at the bottom of window.
- Click the Settings button:
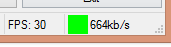
- Try streaming by pressing Start Streaming, if there is no error and you can see data transmission like on the image, it is working!

- Check your stream at http://live.esn.org
- Setup stream source:
Part 4 - Stream like a Boss! (Optional)
Of course streaming just a video from your camera is not cool enough. In OBS you can configure additional sources like images, windows. You can also input text into your video with additional information. This can be used to display a logo, or info about the event, current speaker, etc. This require more work and preparation, but can make a real difference in the quality of the end result. If you're interested, proceed to the advanced live streaming tutorial!