Introduction
Hello and welcome to ESN Virtual Platform tutorial for Dummies :)
About the authors
This tutorial was originally created by Thomas Pappas in February 2016.
If you have any comment or question, feel free to contact at [email protected].
Part 1 - Requirements
To be able to create a meeting for your ESN event you need :
-
Galaxy account with either IT Committee or local/national webmaster role. You need at least one of this role, or you won't be able to create ESN Virtual Platform event (at http://webinar.esn.org).
-
Internet connection - Be warned that very slow and unstable internet connection can make streaming impossible.
Part 2 - Create The Virtual Platform Event
Assuming that you have permission to create ESNVirtual Platform (it com role or webmaster role or special permission) go to http://webinar.esn.org/
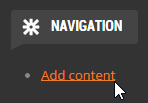
- At the bottom of the page click on Add Content link and then click on Virtual Platform
- Now you have to fill the form:
- Event name - Something that will easily identify your event for example: NP San Francisco or WEP Los Angeles.
- Recording settings - Choose whether you would like to record this meeting or not (note that it will be save on an ESN International server)
- Stream dates - Select dates at which the stream will be available. It should correspond to event start and end dates.
- Event type - Choose your type of event from the combo box. It's purely informative, so in the end, it does not even matter :)
- Agenda or Other information - Pretty self-explanatory, you can use links to your documents here.
- Click Save at the end of page.
- Now you can see page with your virtual platform and you have 3 available buttons:
- View - Shows the basic information and whether the event is running or not
- Edit - Here you can edit everything you typed in the form in section 2.
- Stream Preview - Please ignore this button as it doesn't do anything for a virtual platform event
- Attend Meeting - Here the users can attend the meeting.
- Moderate Meeting - Here the creator of the meeting can enter the meeting with modarator permissions
Note: If you want test the creation of a virtual platform event, please choose old dates like 1 month ago.
Part 3 - Before the event
Now you can share the ESN Virtual Platform event with the people who will attend the meeting. Send them the URL and share with them the following:
Preperation
- Ensure you have installed the latest version of Flash (download link here)
- Please use a recommended browser, Mozilla Firefox or Google Chrome
- Please don't use a mobile phone
Instructions
- Enter the page during the date and time of the event.
- Check whether the event is running or not (check Part 4 for how to change it).
- Click on Attend Meeting to join it.
- Allow Flash to access their Camera and Microphone by clicking Allow on the popup window
- (if needed) Configure the microphone and speakers that will be used during the event
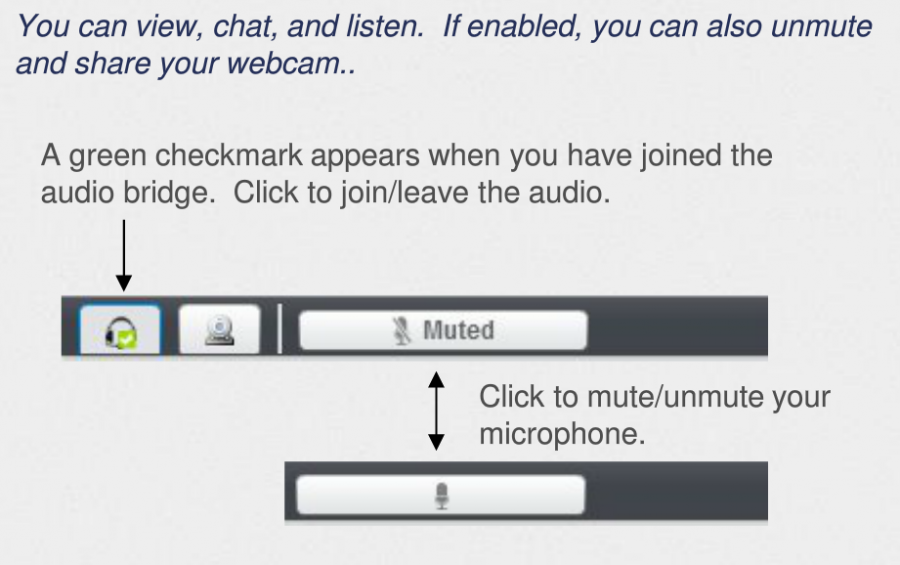
- Click on Join Audio
Note: On some versions of Linux, the user might be unable to click the Allow button. In this case ask them to follow these instructions.
Part 4 - During the event
Enter the page you created and click on Moderate Meeting, this will change the Status of the event to Meeting is in progress and wait for the rest of the users to appear online.
Overview
For a full overview of the features of BigBlueButton, please watch the following videos:
Speakers List
Muting the microphones
If you want to hold a speakers list then ask the participant to mute their microphones by pressing the microphone icon on the upper left corner of the screen. They can unmute by clicking on the same button.
If you want to have more control on the users you click on the locker icon next to the user's name on the User list (left column). That will make them unable to mute/unmute by themselves and only you will be able to do so by clicking on their microphone icon.

Raising the hand
When a user whishes to speak, they can raise their hand by clicking the hand icon  below the Users list (left column). When a user clicks it, then everyone can see that he/she raised their hands and the moderator can grant them the right to speak.
Presentations
Adding a presentation
To add a presentation click the Upload Presentation icon  in the lower left corner of the presentation window and follow the instructions to upload a file. Then you can move the slides using the navigation
  directly below the presentation window.
- Acceptable file types are any Office documents but also PDFs, images etc.
- Note: Once uploaded they will be converted to PDFs using LibreOffice so if you are using Microsoft Office you should expect some compatibility issues
- For the reason above it is highly recommended to only use PDF files for your presentations
- It is recommended to upload all your files before the meeting begins to ensure a more smooth flow. Once uploaded you can switch among the presentations by clicking again the Upload Presentation icon and clicking Show on the presentation you whish to display.
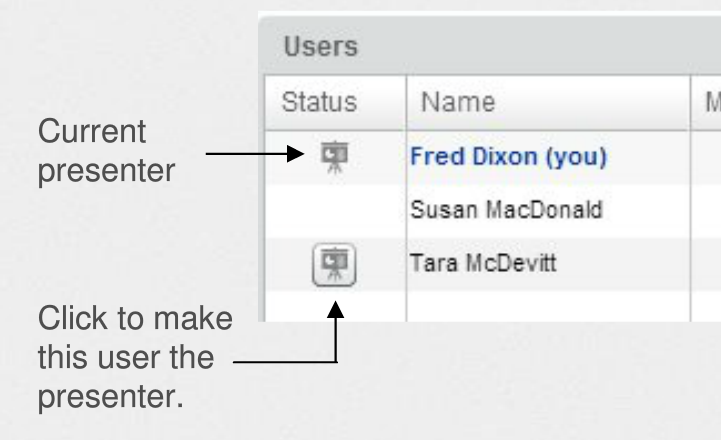
Changing the Presentation holder
Sometimes there is a need for one of the users to hold the presenation. If that is required, hover your mouse on the left column next to the name of the user and click the Presenter icon. This will allow that user to take control of the navigation and tools of the presentation.