Introduction
Hello and welcome to the Satellite tutorial on how to add content for non-tech users. :)
About the author
This tutorial was originally created by João Vilaça in December 2014.
If you have any comment or question, feel free to contact the IT Committee administrative chair at [email protected].
Part 1 - Requirements
To be able to add content on your ESN Section Website you need:
-
Galaxy account at http://galaxy.esn.org with at least a local active member role. At minimum you need this role, so that you may be able to add content on your ESN Section Website. If you don't have any role, and you need to be able to add content, first contact one of your local representatives. If that doesn't work you should contact one of your national representatives and in worst case scenario contact an international representative.
Part 2 - Log In
Assuming that you already have an account in Galaxy with at least a local active member role, you should now be able to log into your ESN Section Website.
- At the bottom of the page click on the Log In Button as shown on the image:

- Once you are on the user page click on the Log In Button as shown on the image:

Now you will be redirected to the secure Galaxy login page, where you need to fill the necessary fields and once again press the log in button. After successfully doing this you will be redirected back to your website and be properly logged in and ready to start writing content.
Part 3 - Add Content
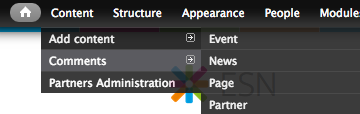
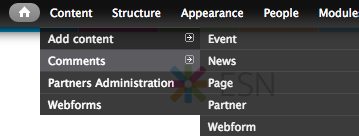
Let's get busy and start adding content! Everything you need is at the top bar under the heading Content. Here you can create different types of content, which are the folowing as seen in the next image: Events, News, Pages, Partners and Webform. In case you don't have permission to add content, you should contact your website administrator.
- Create Event
Go to Content, Add content and click on Event. You will get this page:

Fill in the blanks and select all the necessaries checkboxes, the event will be shown on the spotlight as well as in the block 'Event' on the frontpage. You can add a link or a image by clicking  and then follow the instructions; you also can paste text from Word or elsewhere by clicking
  and then follow the instructions. Pick an image for your event and upload it. If you would like to have a different image for the spotlight, you have to upload it where it says 'Spotlight image'. In case it's a big event, you might want to provide a menu link at the 'Menu settings', otherwise you shouldn't change the original menu settings.
Don't forget to save your new created event! For that you have to click on the save button at the bottom of the page as shown on the following image.

- Create News
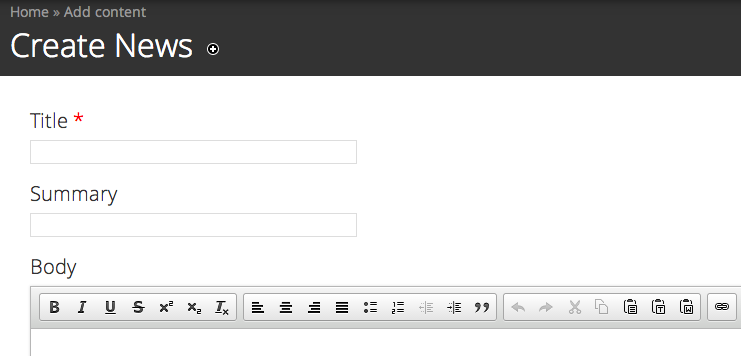
Go to Content, Add content and click on News. You will get this page:

Same process as shown before; there are less settings here than at "Create Events" but the ones that appear are the same. Go back to Create Events to see what these settings mean or just carefully read the instructions on the page, Satellite 4 is very clear on what the purpose of each setting is. When you finish, don't forget to save!
- Create Page
Go to Content, Add content and click on Page. You will get this page:
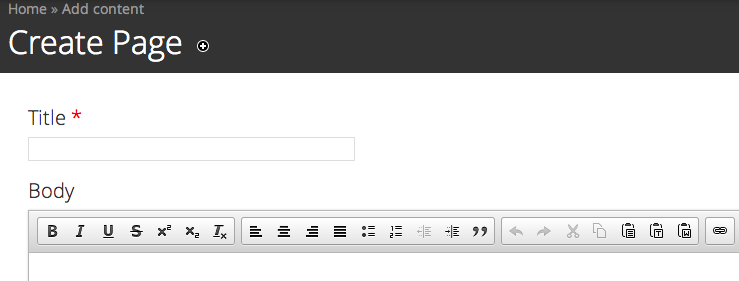
Here you can create a page on your website so you can add some different information on it. Proceed to do the same process as shown before. Then you can make this the first page of a main menu link, or make it a sub-page of the main menu link. For that, you have to select the checkbox 'Provide a menu link' at the menu settings on the bottom of the page. Fill in the blanks, basically the menu link title. At the Parent item you can choose the place of the new page, either as a main menu item (to show on top of your website in the navigation region), or under a main menu item. In case you have more than one page under a main menu item, you can order them by giving them a smaller or larger weights. Proceed to save your newly created page.
- Create Partner
Go to Content, Add content and click on Partner. You will get this page:
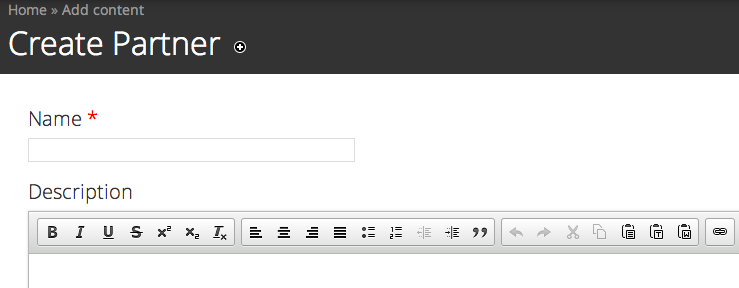
Here you can add your sponsors and partners. Do the same as before; again, the difference is in the settings. You will have to insert a logo instead of an image, and you have the option to insert the website of your sponsor/partner. Then proceed to save and you are done.
Part 4 - Add Other Content
- Add Videos
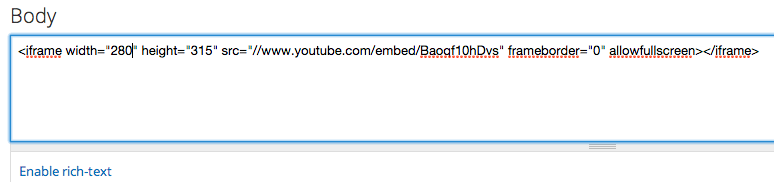
To add a video, first you have to disable the rich-text, then you have to paste the embed code to the body form. To get the embed code from the video you want, for example in youtube, you have to click on 'Share' and then 'Embed' so you can copy the embed code. If you want to adjust the size of the video display, you have to change the width and height in the embed code, as shown in the following image.
- Create Webform
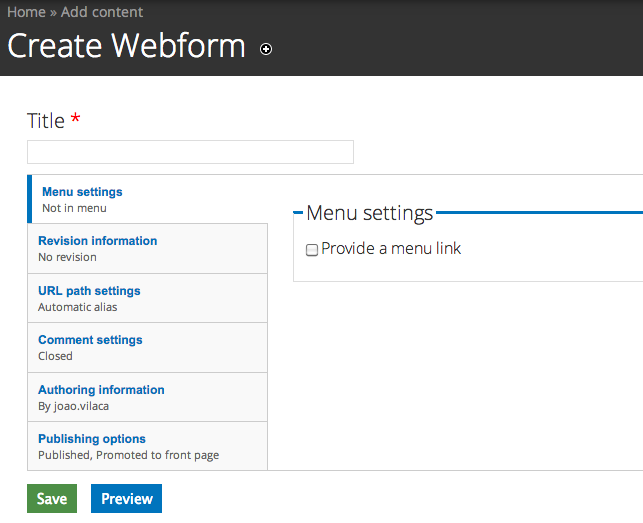
Go to Content, Add content and click on Webform. You will get this page:

The first step is to give a title to your webform, then decide if you want to provide a menu link by selecting the checkbox, and after clicking on the save button, the new webform will be created. Now you can add new fields to your webform with the form below as shown on following image. Proceed to give a name to the new component, select the type, check the box if it's a required field on the form and click on the add button. Proceed to edit the new component and repeat the process for the necessary times.